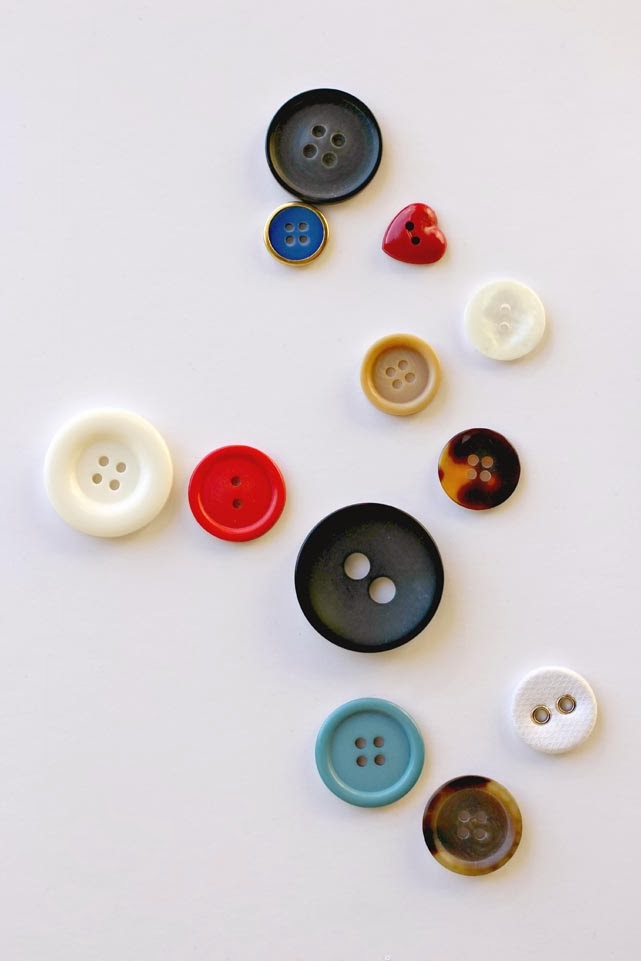
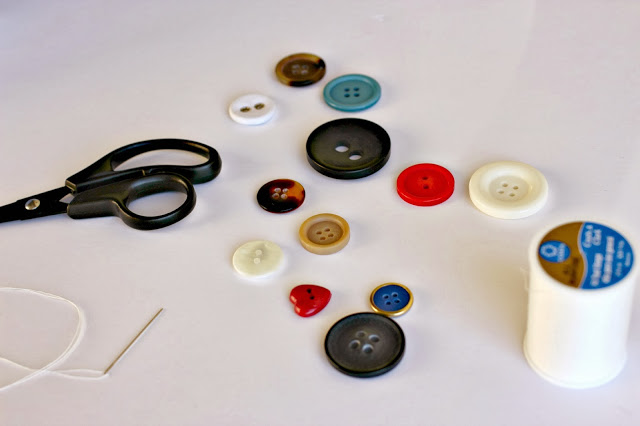

It’s a simple DIY, with a vintage button and a button-down shirt.
things you’ll need:
a vintage button
a button-down shirt
thread to match
needle
scissors or seam ripper
Since the statement button does not need to be functional, I picked a red, vintage heart button. This button is too large for the existing button holes so it’s main purpose is just to make a statement. To start, carefully remove the original button using scissors or a seam ripper. I chose to remove the 2nd button from the top. This is one that I leave undone when wearing the shirt.
Sew the vintage button into place using a color thread that coordinates with the rest of the buttons on the shirt. This will make the statement button look as if it really belongs. It’s a nice way to tie everything together. To finish, secure the stitching on the backside of the button with a few extra knots, especially if the statement button is heavier or larger than the original.
Final product photos coming soon . . .


Leave a Reply